Service Provisioning
In this section you can find information about the provisioning of the services offered, depending on their type.
Creation of Provisionings
Provisioning of "Physical Resources"
Generally, service provisioning is done through the Leonardo Security Cloud Management Platform console.
Using the tabs in the console's provisioning functionality, you can view lists of provisionable resources, such as Virtual Machines, Storage, and Kubernetes.
The features available for these items are identical; only the parameters entered during creation differ.

Provisioning of Virtual Machines
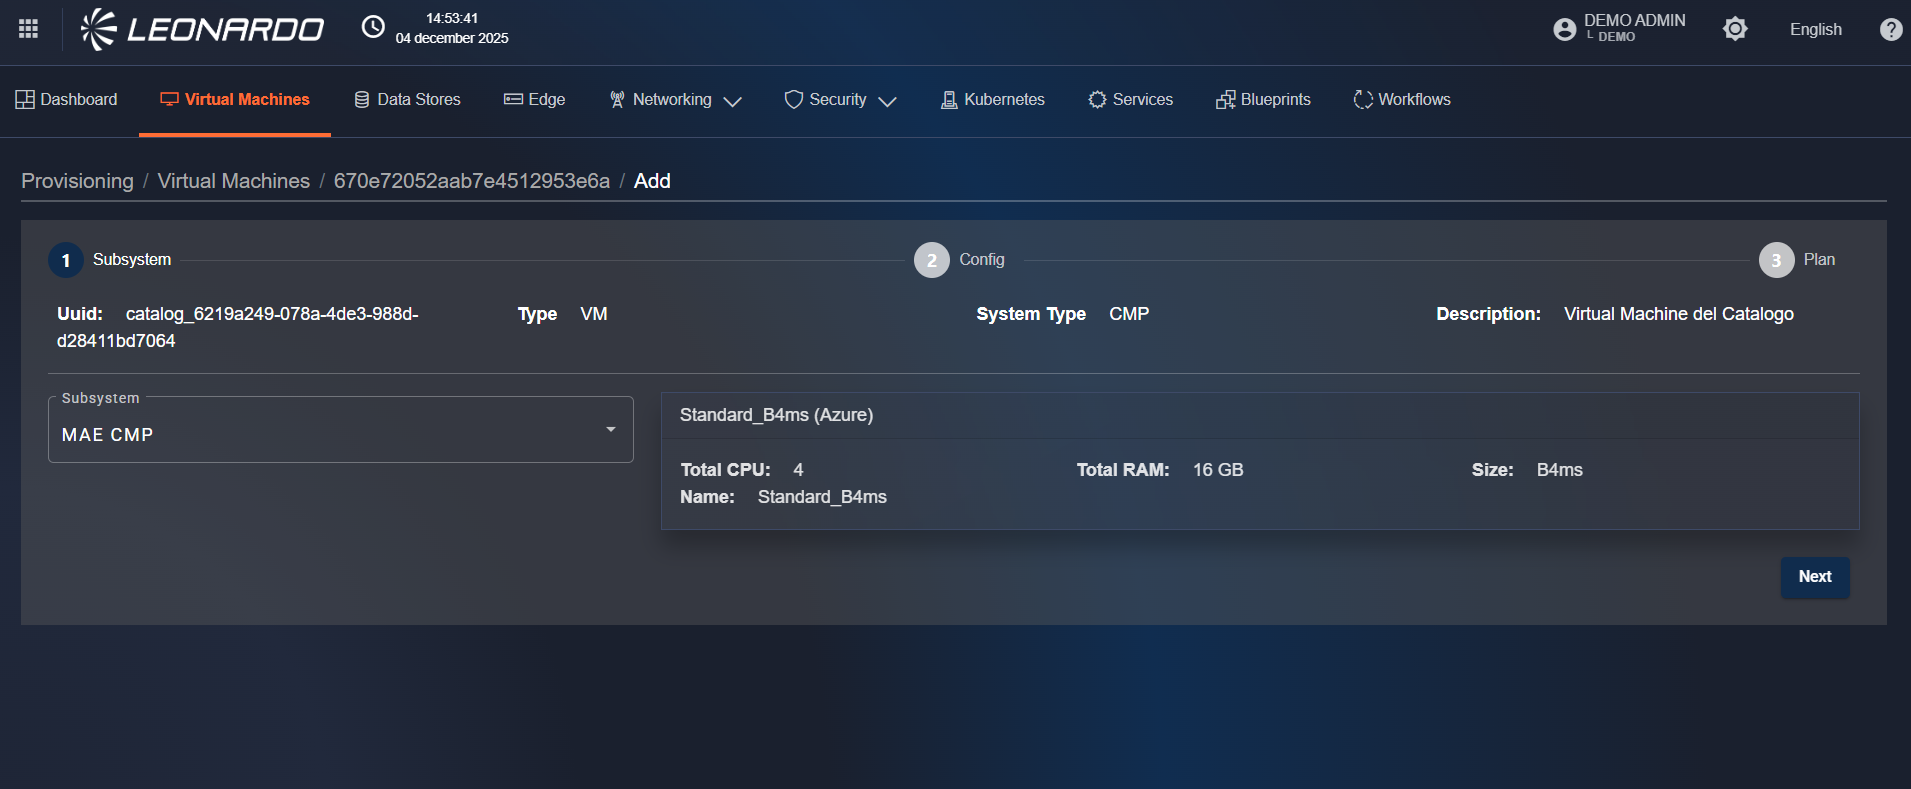
To start provisioning a resource, click on the corresponding row to view the page containing step 1 of provisioning creation. In this step, it is necessary to select, using the dropdown on the left, the "target" subsystem where the resources are to be provisioned. Once selected, an information mirror will be displayed on the right indicating the characteristics of the resource that will be provisioned. To continue, click the "Next" button at the bottom right to go to step 2 "Config" page.
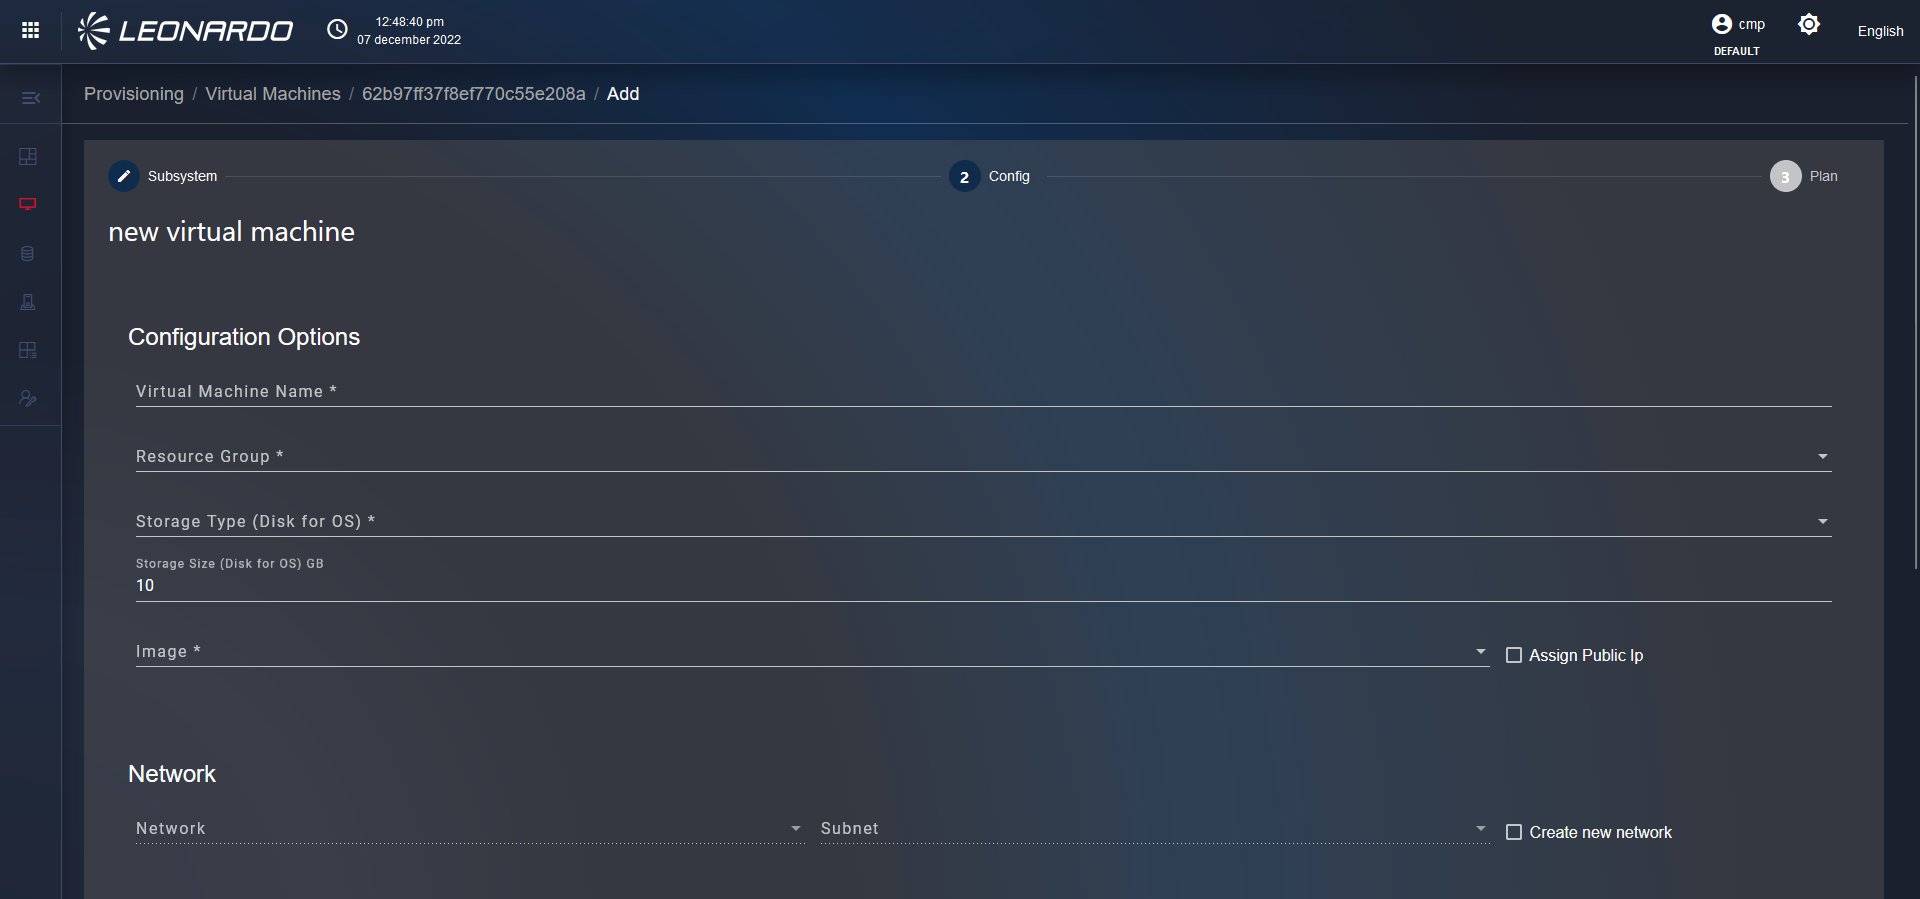
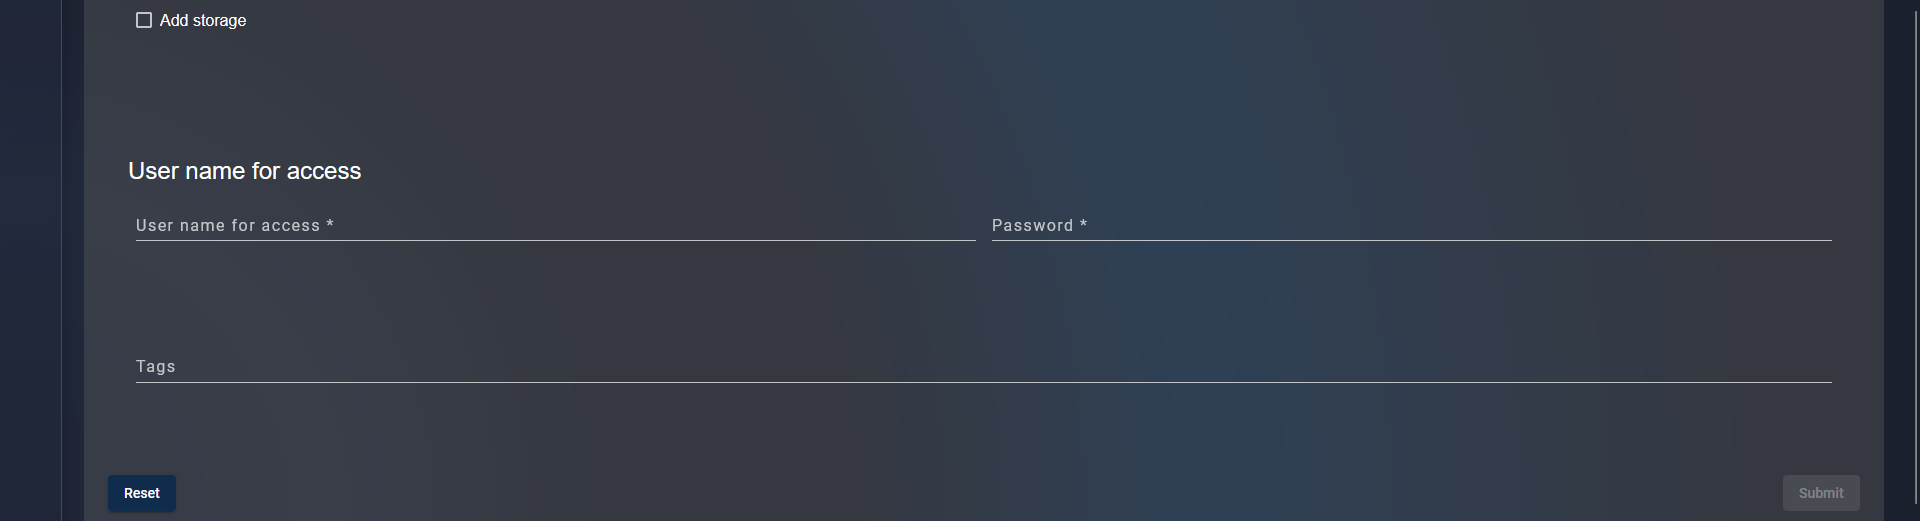
On the "Config" page of step 2, fill in all mandatory fields in all sections of the form. At the bottom left, click the "Reset" button to reset all fields on the page.
Instead, on the right, click the "Submit" button to go to step 3 "Plan".
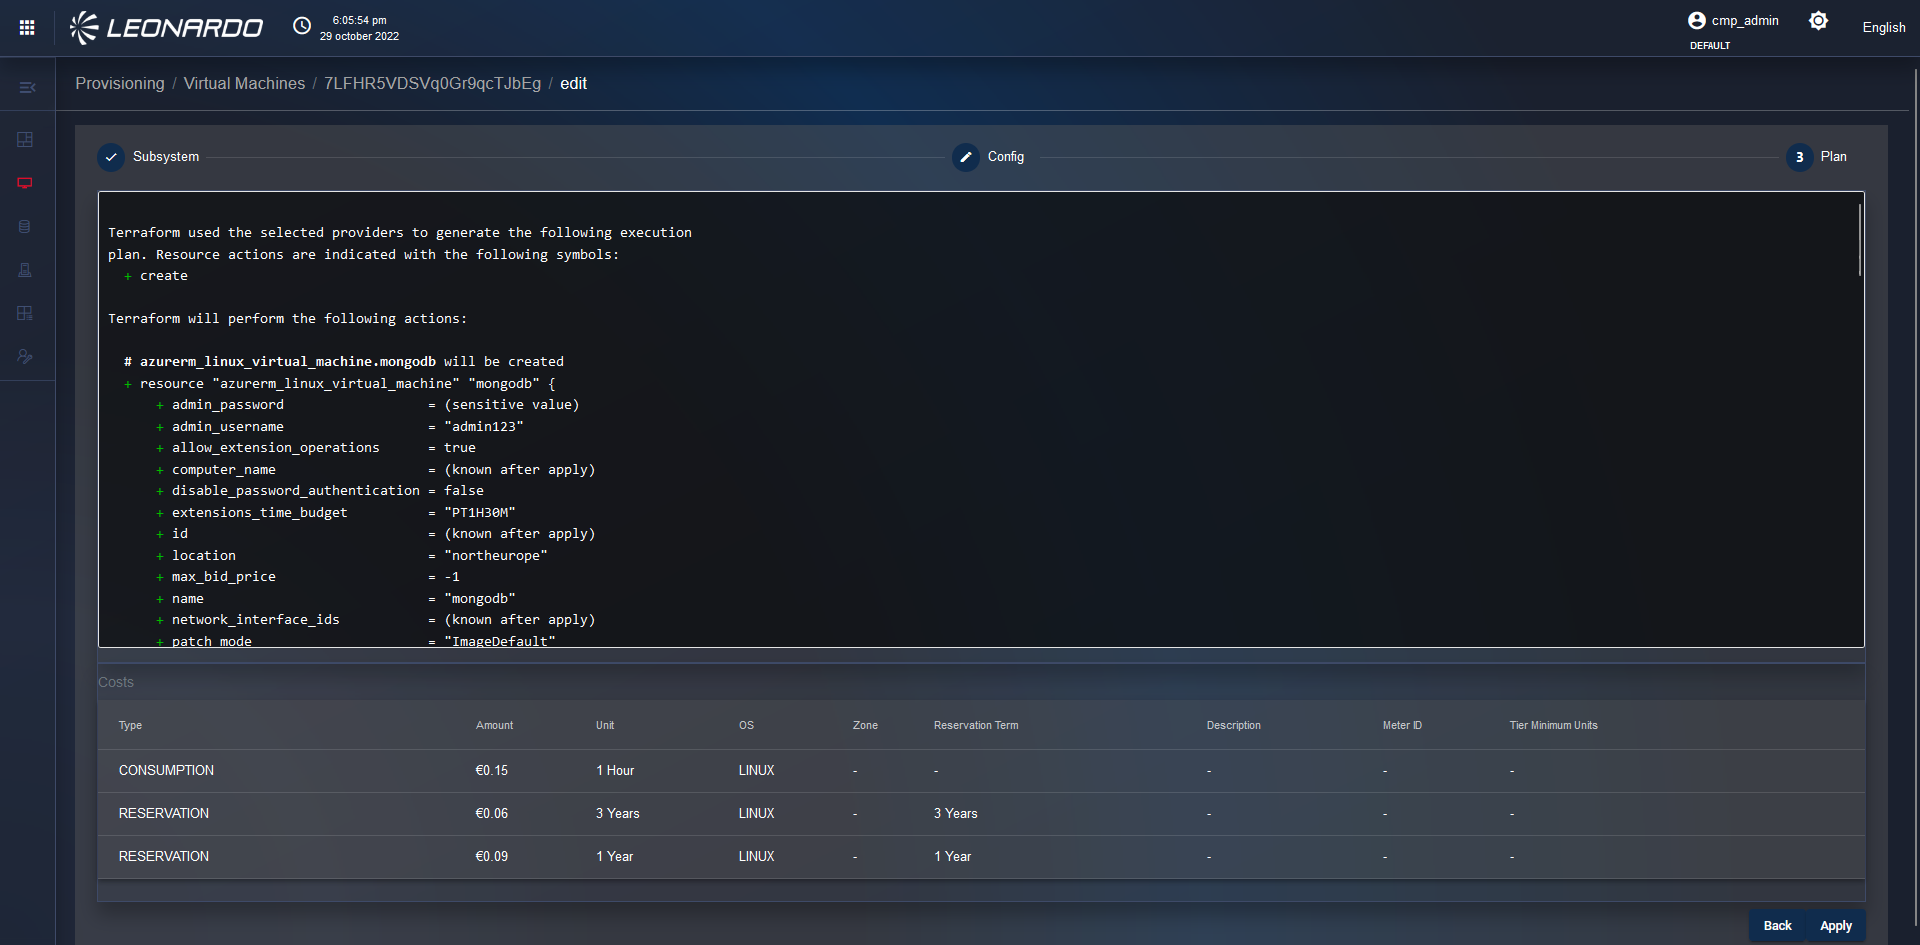
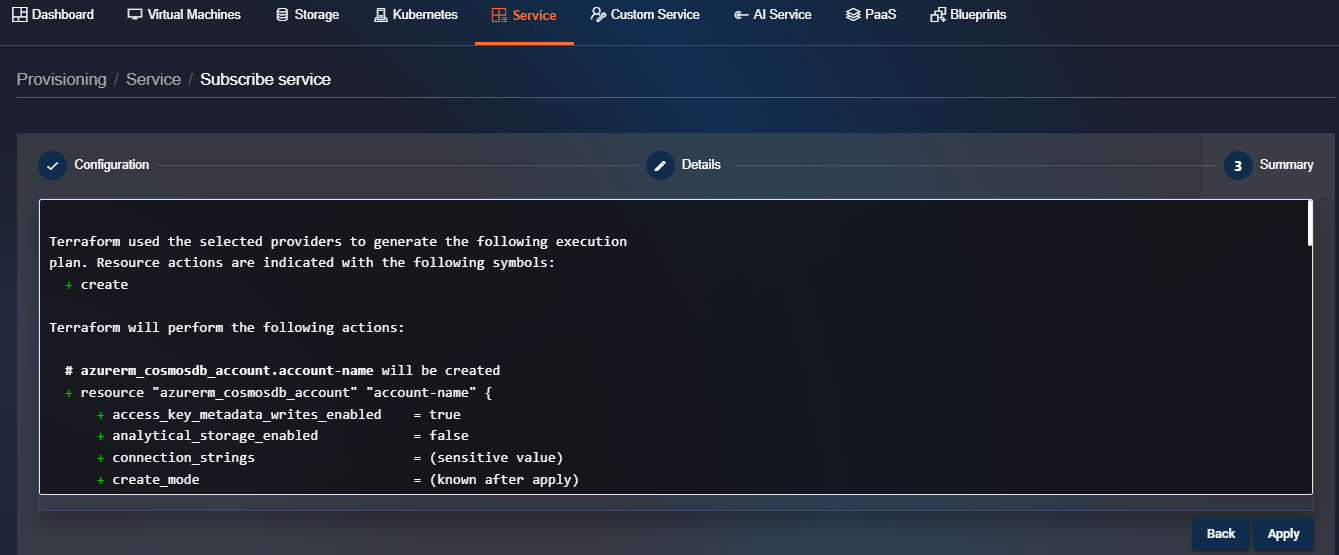
After clicking the "Submit" button, the user is redirected to the "Plan" page of step 3 where we can view the provisioning plan sent by Terraform, which indicates all the parameters of the resources that will be configured, and at the bottom, there is a list with a cost perspective.
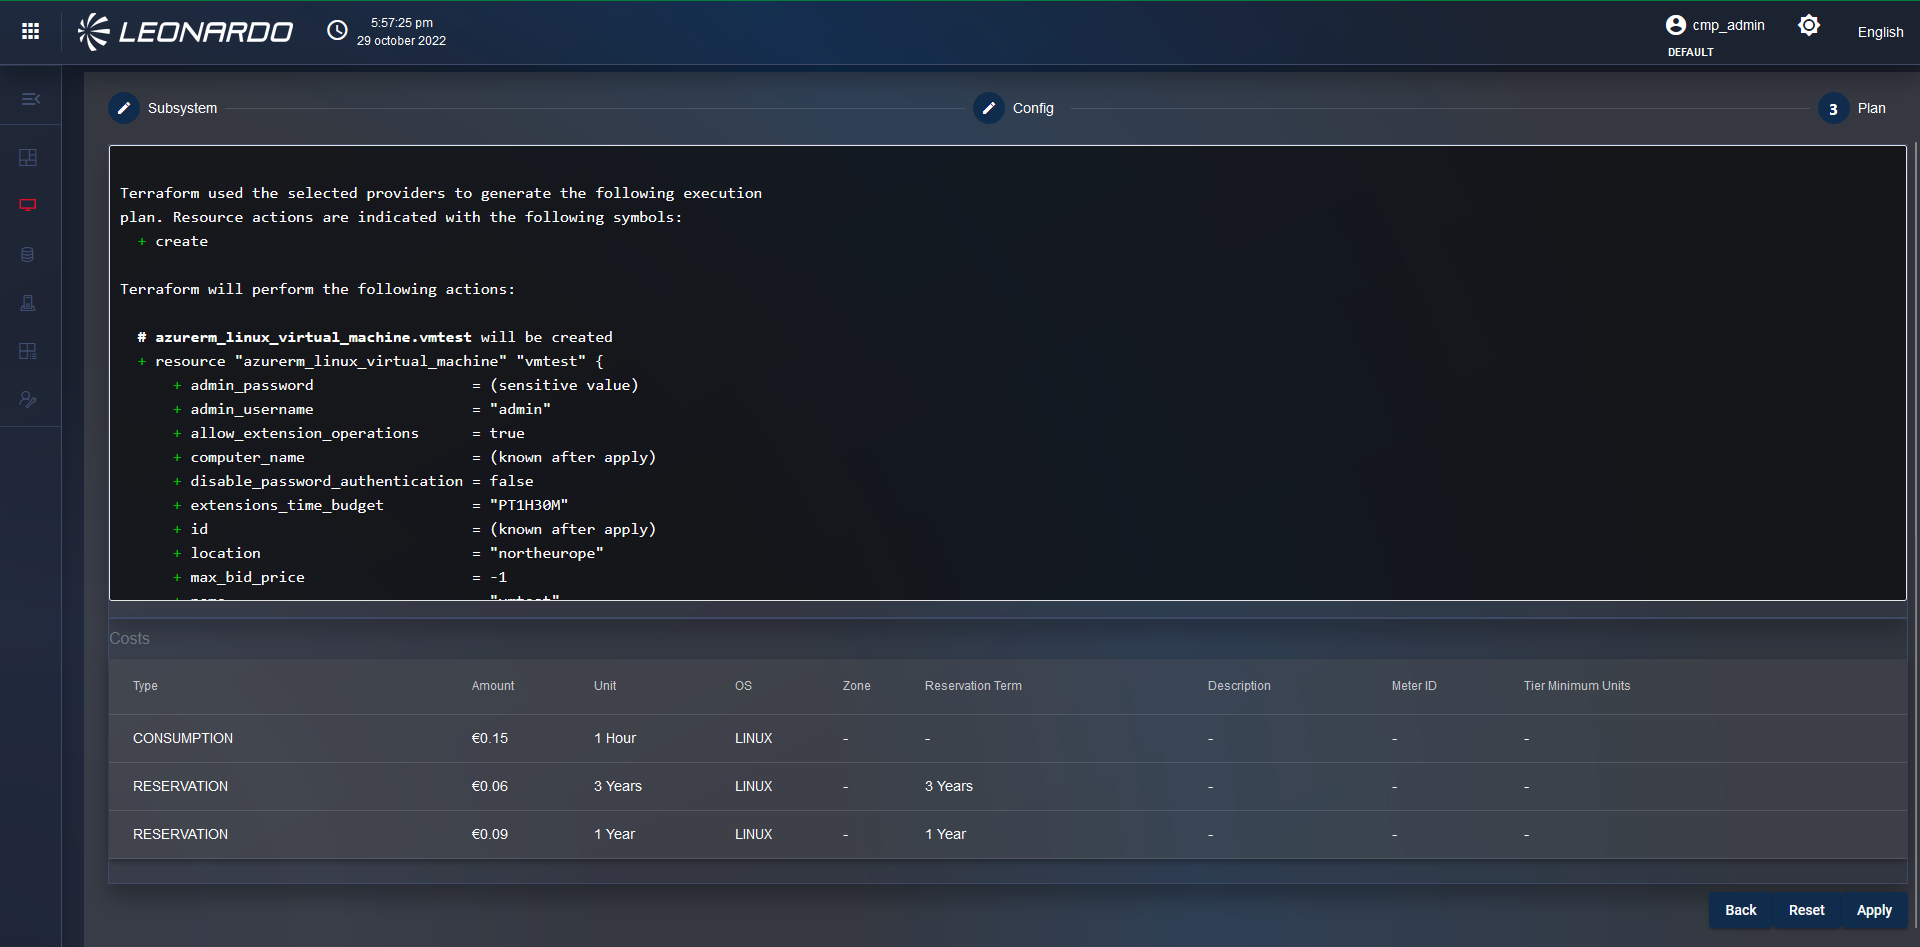
Still from the "Plan" page of step 3, at the bottom right, there are three buttons: "Back", "Reset", and "Apply". If you click the "Back" button, the user returns to the "Config" page of step 2 where parameters can be modified.
If you click the "Reset" button, the user is redirected to the "Subscription" page of step 1 where it is necessary to select a subsystem, and then enter the parameters on the "Config" page of step 2.
Finally, if you click the "Apply" button, the forecast is saved, and the user is redirected to the "Dashboard" tab page where the user verifies the presence of the newly created forecast.
Provisioning of "Services"
To access the services page, click on the tab that depicts a shelf located in the top menu. After doing this, you will find yourself on the "Service" page.

On the page, a list of components called "Card" is displayed. Each card refers to a specific type of service; in particular, the following information is displayed:
- Service name;
- Service icon;
- Type of script used for service provisioning;
- Service description;
- "Subscribe" button to proceed with service creation.
Depending on the type of service selected, the steps for provisioning change; these will be analyzed in detail below.
"Standard" Services
Click the "Subscribe" button corresponding to a "standard" service. The user will be redirected to step 1 of the service creation page, and all instantiable versions of the service by SCMP will be displayed. In particular, various blocks will be shown, each with a list of configurations:
- Name and version of the service that will be instantiated.
- Name and version of the operating system that will be installed on the machine.
- Belonging provider on which the service will be provisioned.
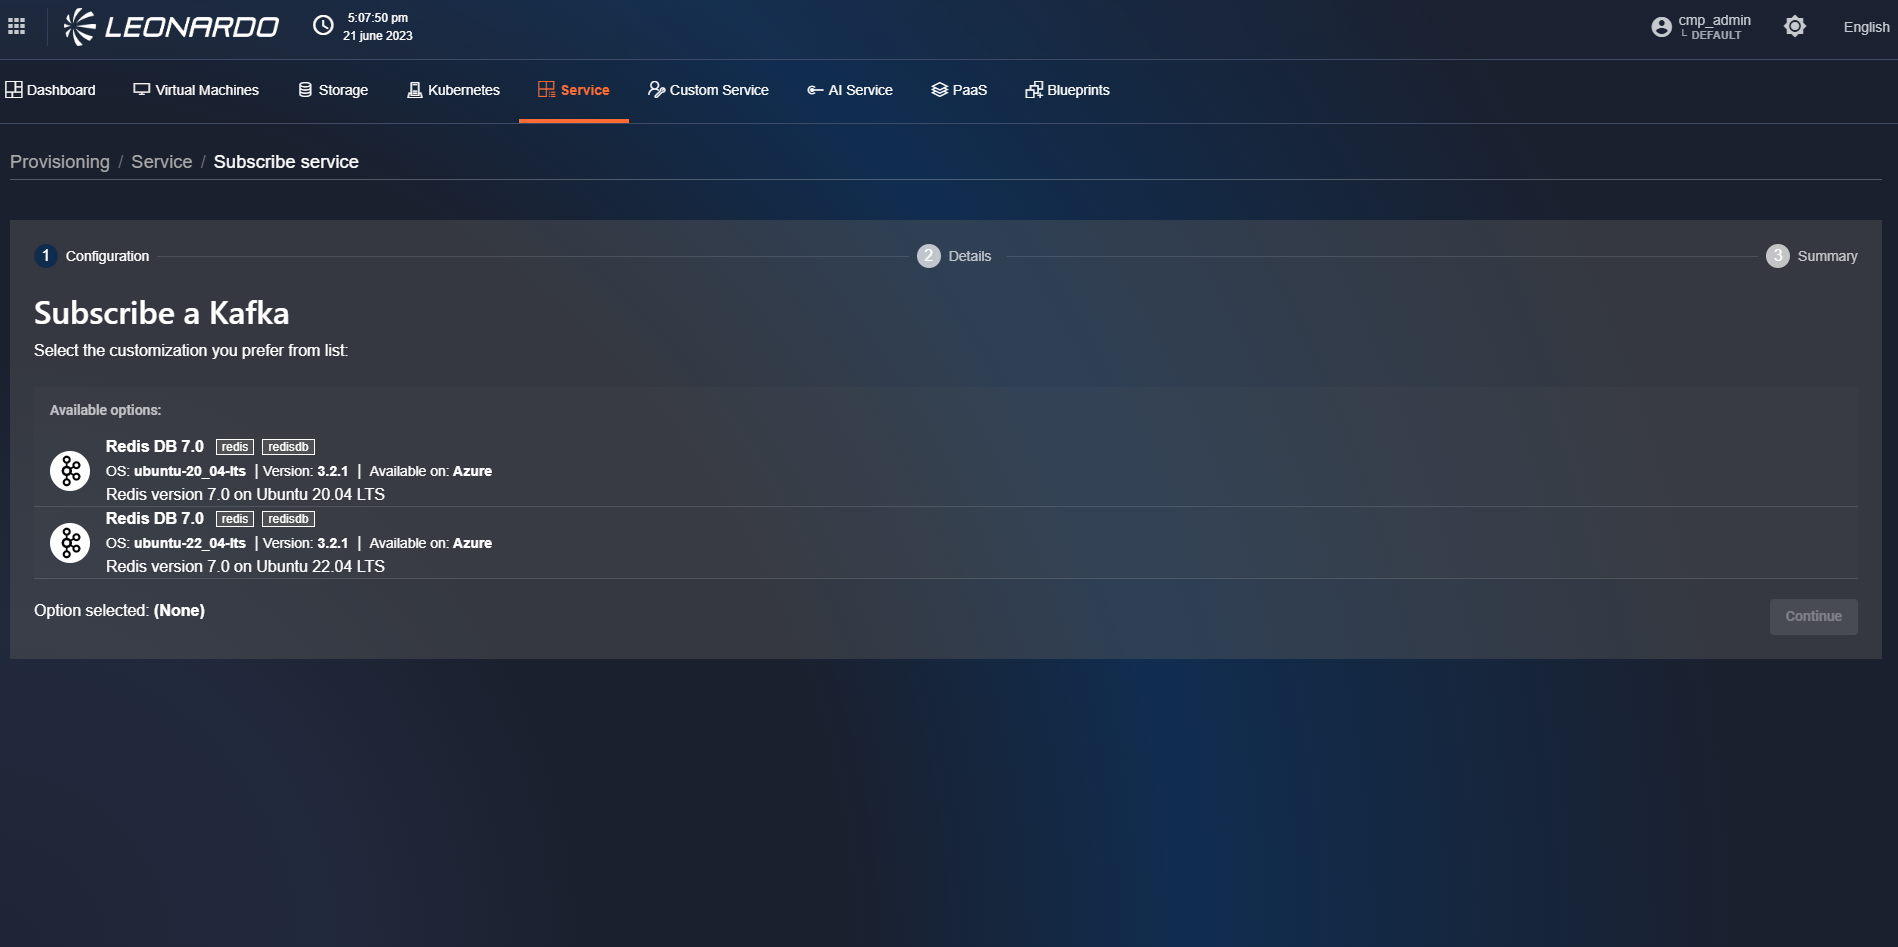
Select a software version and press the "Continue" button; the user is redirected to step 2 of service provisioning.
In step 2, it will be necessary to select a subsystem and fill out the form with the details of the chosen subsystem.
After completing all the form fields, click "Submit".
A request will be sent to the Terraform service, which will validate the activation configuration of the indicated flow and return the result.
Click "Apply" to validate the flow and activate the service subscription.
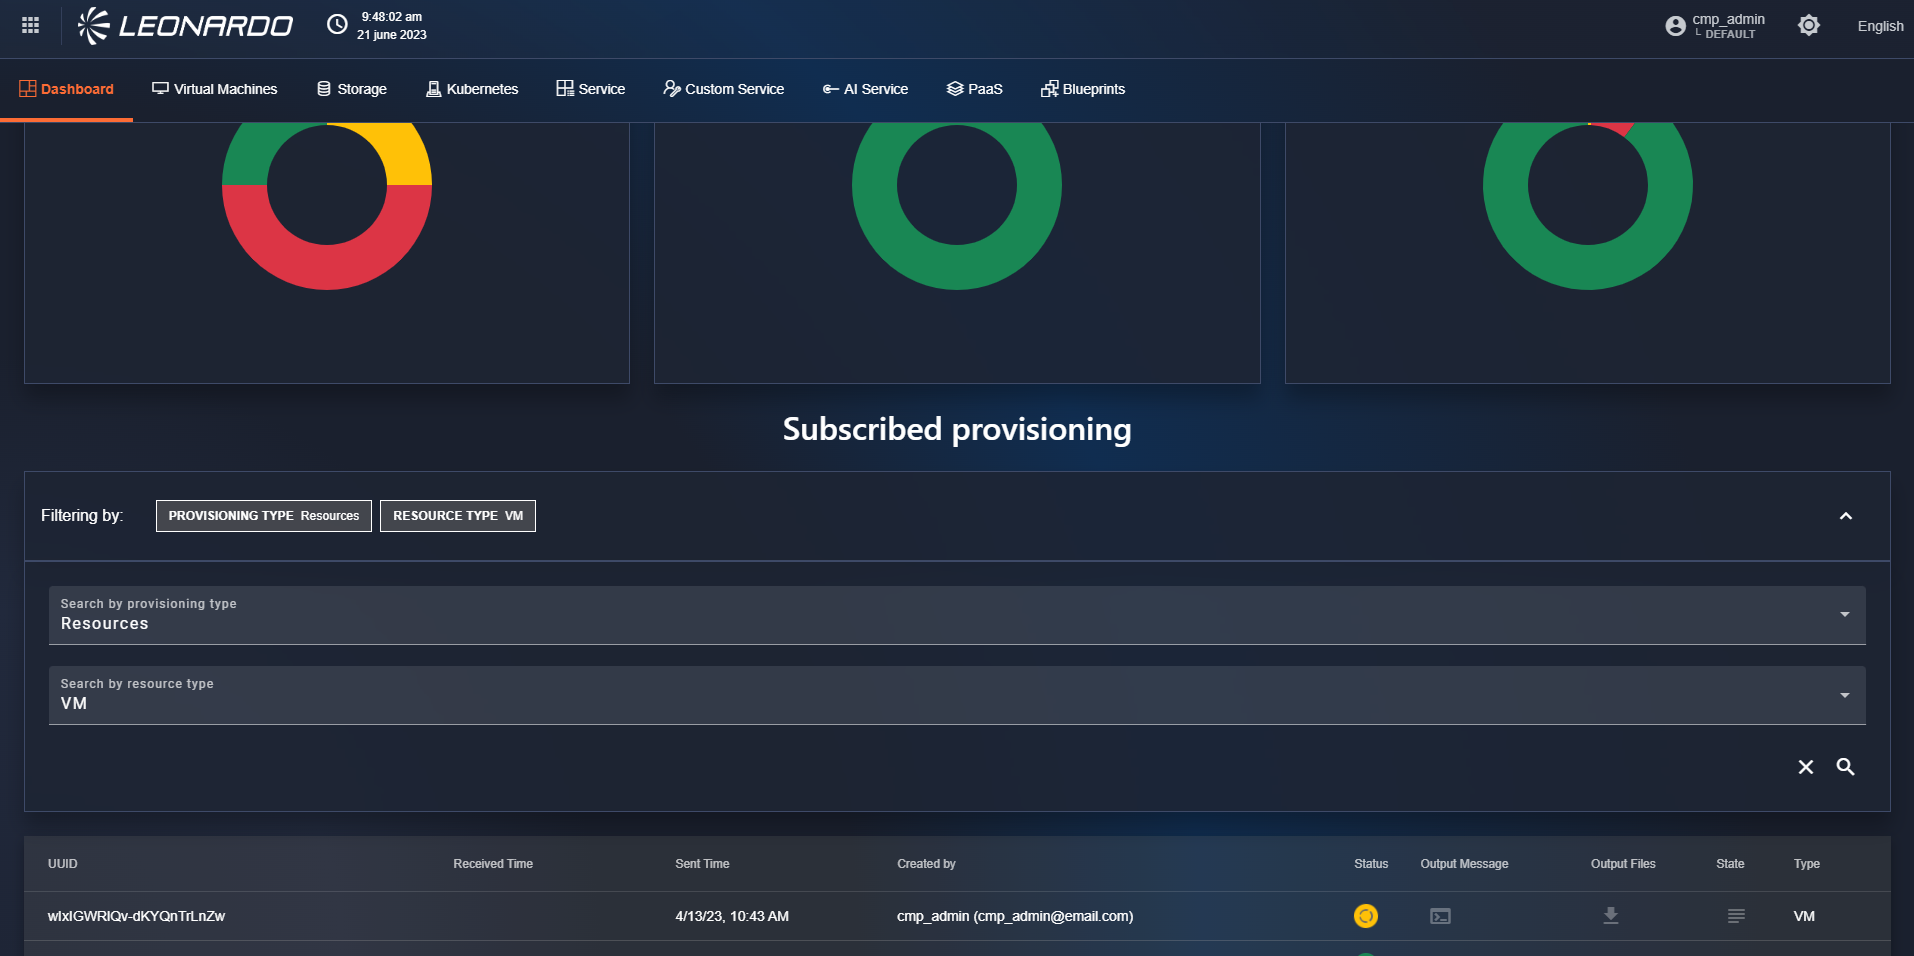
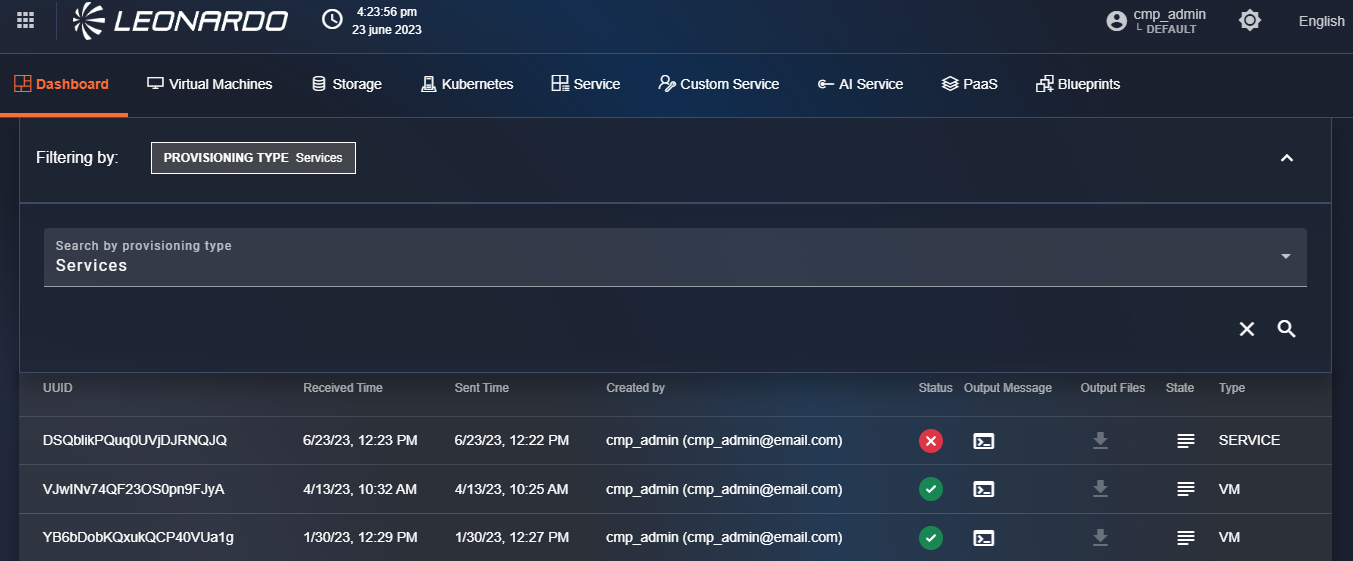
The dashboard page will open with the list of all subscribed services and their relative statuses. Specifically, the newly provisioned service will have a "Running" status in yellow, and subsequently, depending on the result, the status will also be updated to "Completed" in green or "Error" in red.
"Custom" Services
Click the "Subscribe" button corresponding to a "custom" service. The user will be redirected to step 1 of the service creation page where the subsystem can be selected, in which to perform the provisioning, from the dropdown in the center of the page.
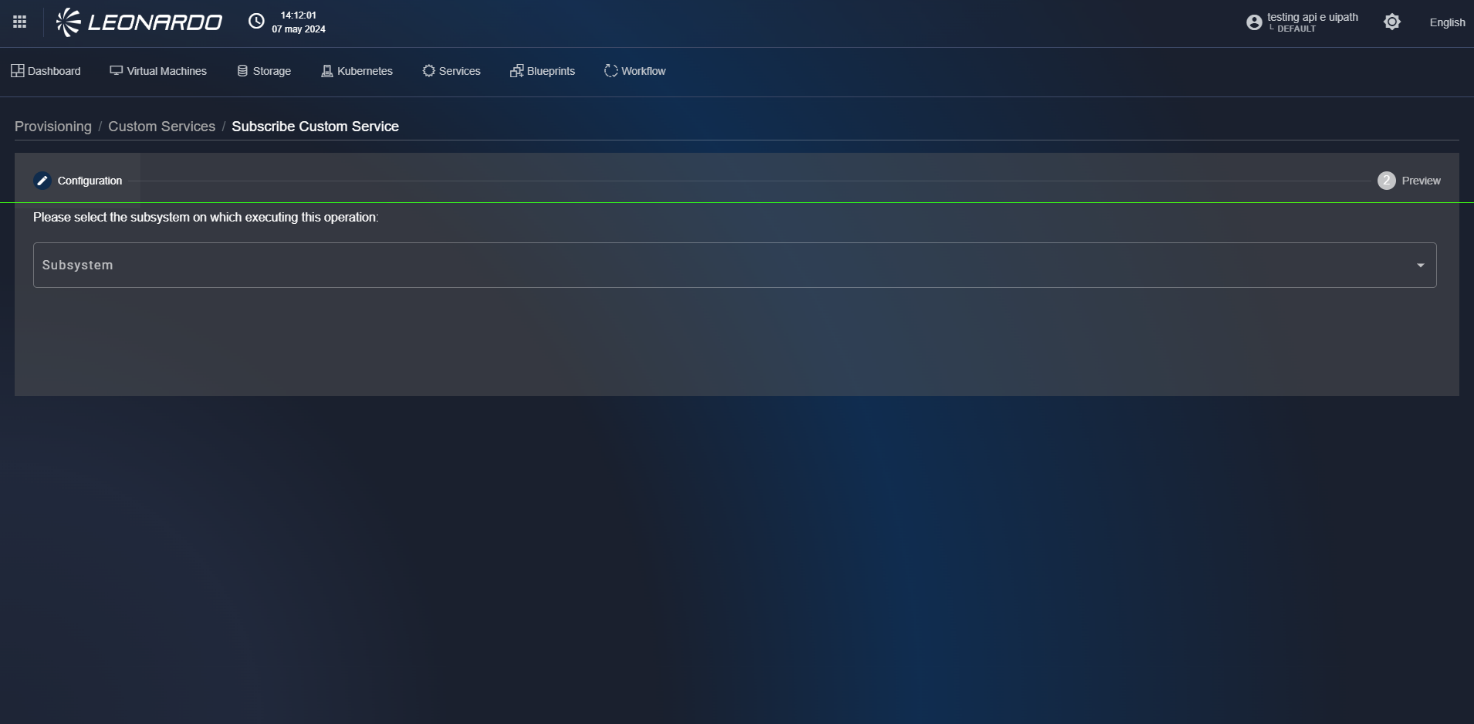
By selecting the subsystem, the page updates to proceed to step 2 of service provisioning.
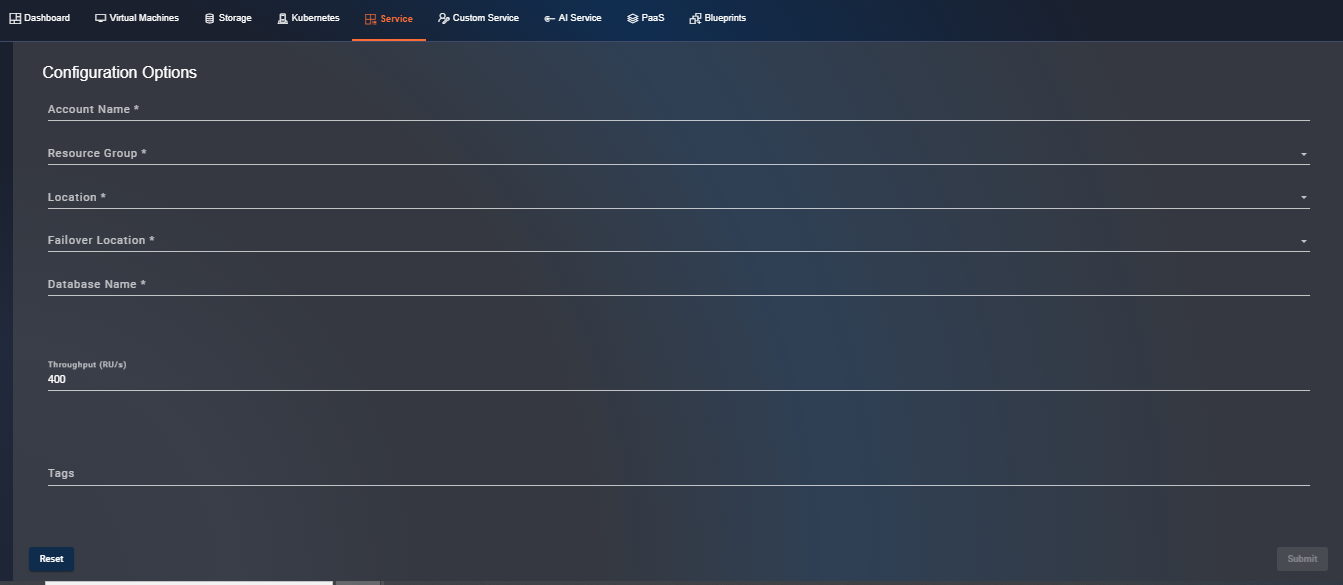
In this step 2, it will be necessary to fill out the form with the specific configuration parameters of the selected service.
After completing all the form fields, click "Launch".
A request will be sent to the Terraform service, which will validate the activation configuration of the indicated flow and return the result.
Click "Apply" to validate the flow and start the automatic configuration operations.
The dashboard page will open with the list of all subscribed services and their relative statuses.
Specifically, the newly provisioned service will have a "Running" status in yellow, and subsequently, depending on the result, the status will also be updated to "Completed" in green or "Error" in red.
"PaaS" and "AI Services"
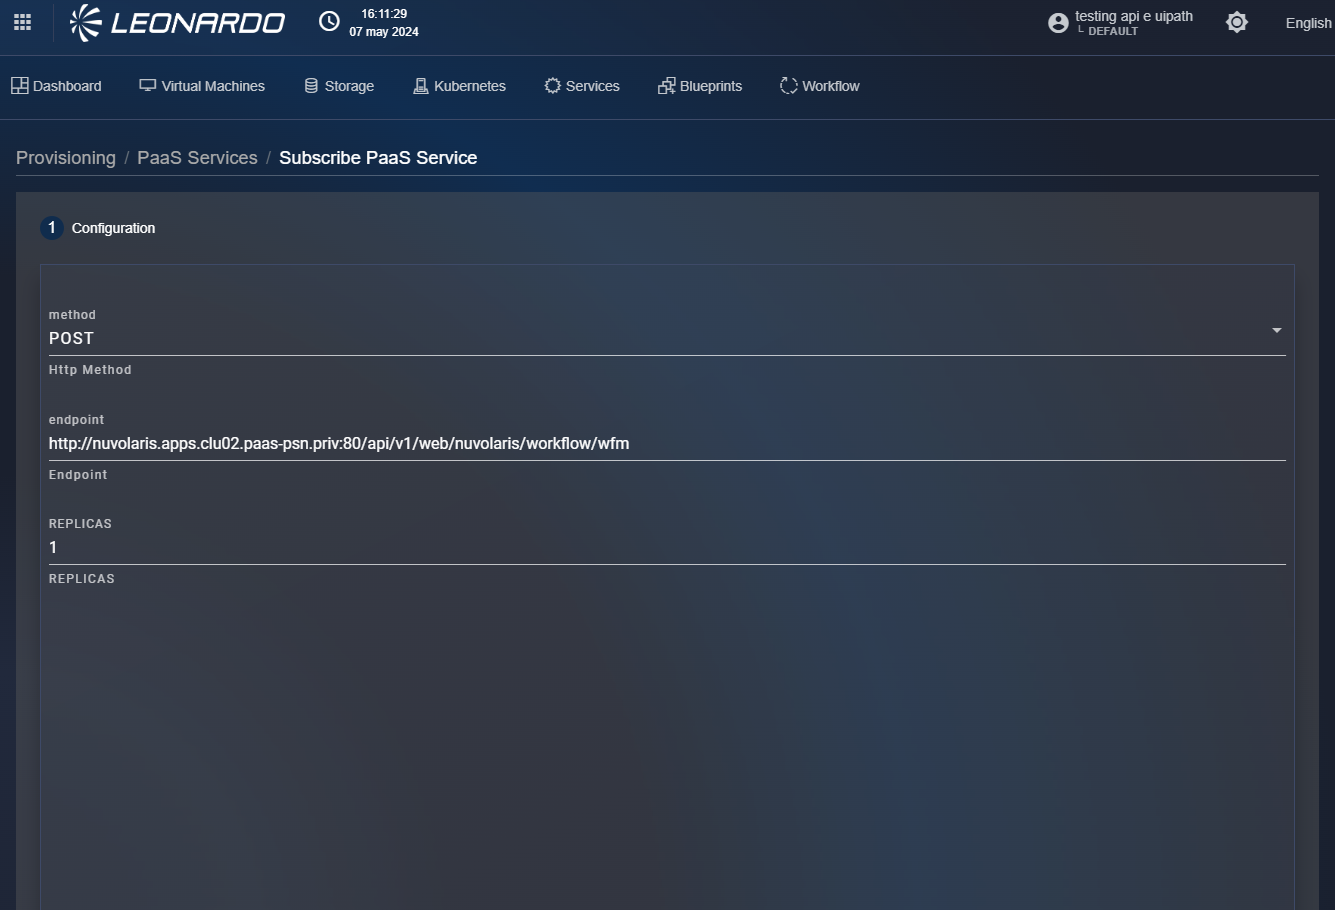
Click the "Subscribe" button corresponding to a "PaaS" service. The user will be redirected to step 1 of the service creation page where it will be necessary to fill out the form with the specific configuration parameters of the selected service.
After completing all the form fields, click "Launch".
The dashboard page will open with the list of all subscribed services and their relative statuses.
Specifically, the newly provisioned service will have a "Running" status in yellow, and subsequently, depending on the result, the status will also be updated to "Completed" in green or "Error" in red.
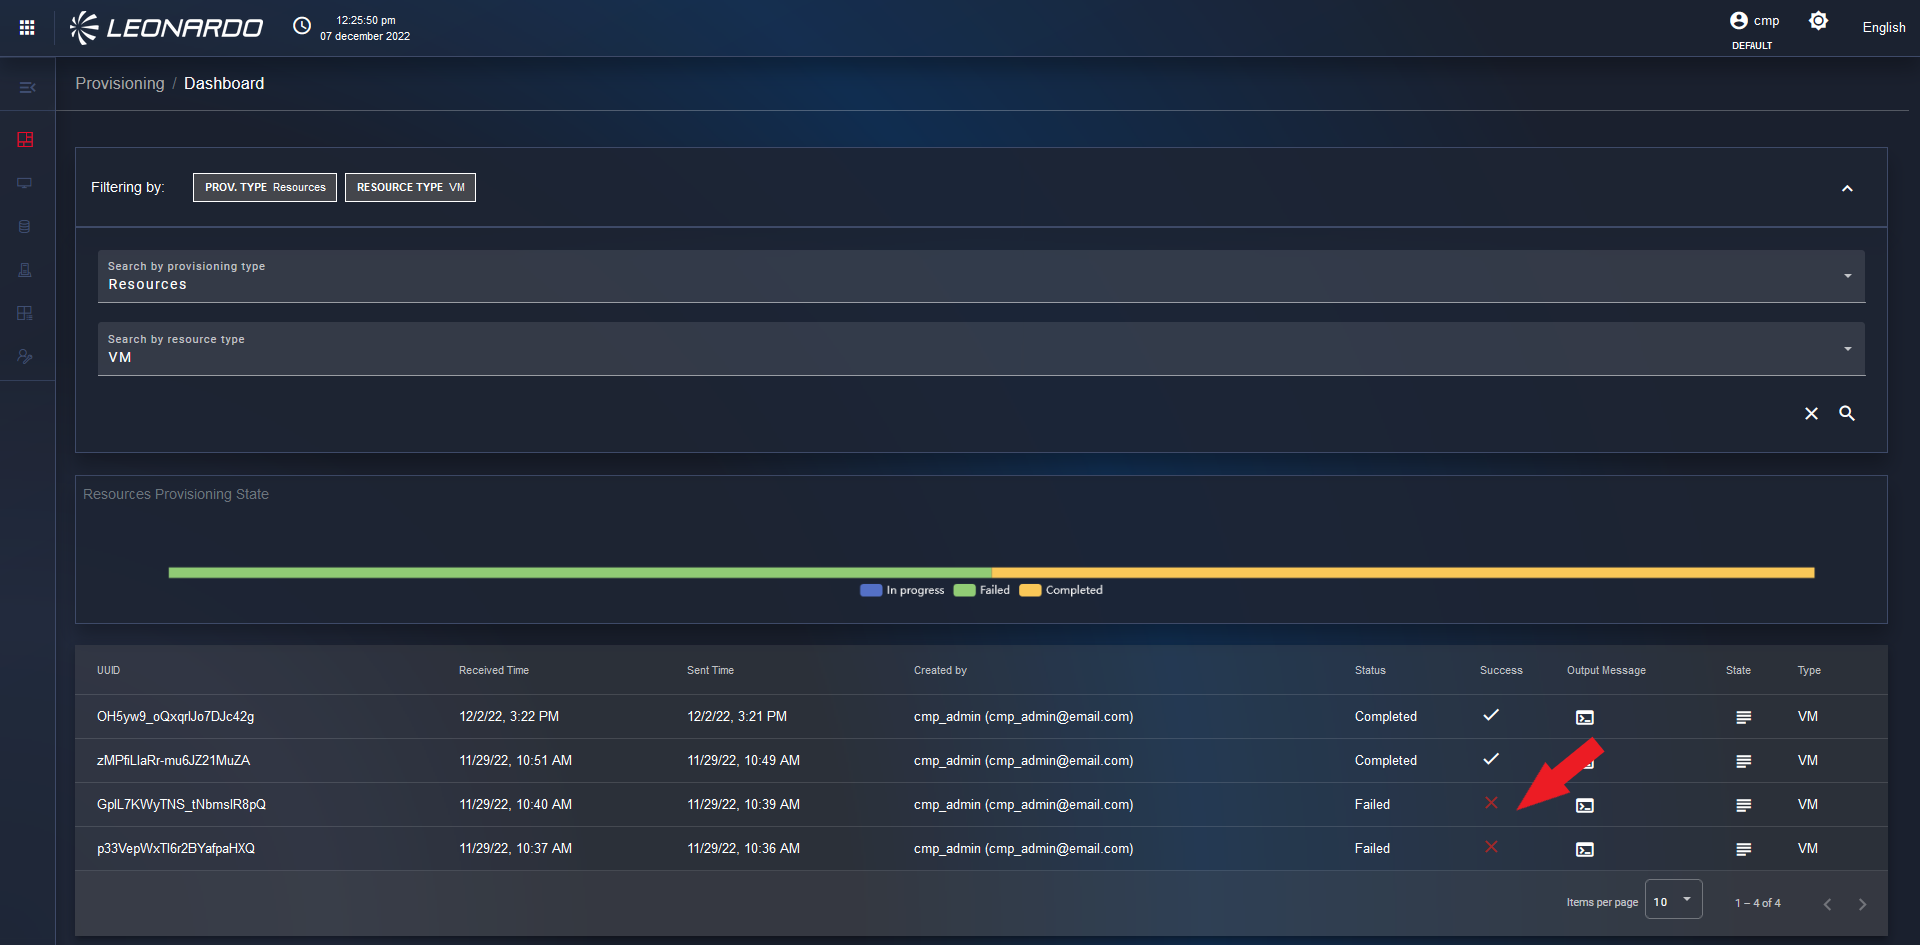
Modification of a performed provisioning
For a provisioning that has been carried out and has failed, it is possible to modify it.
Provisioning modification is only available for resource types.
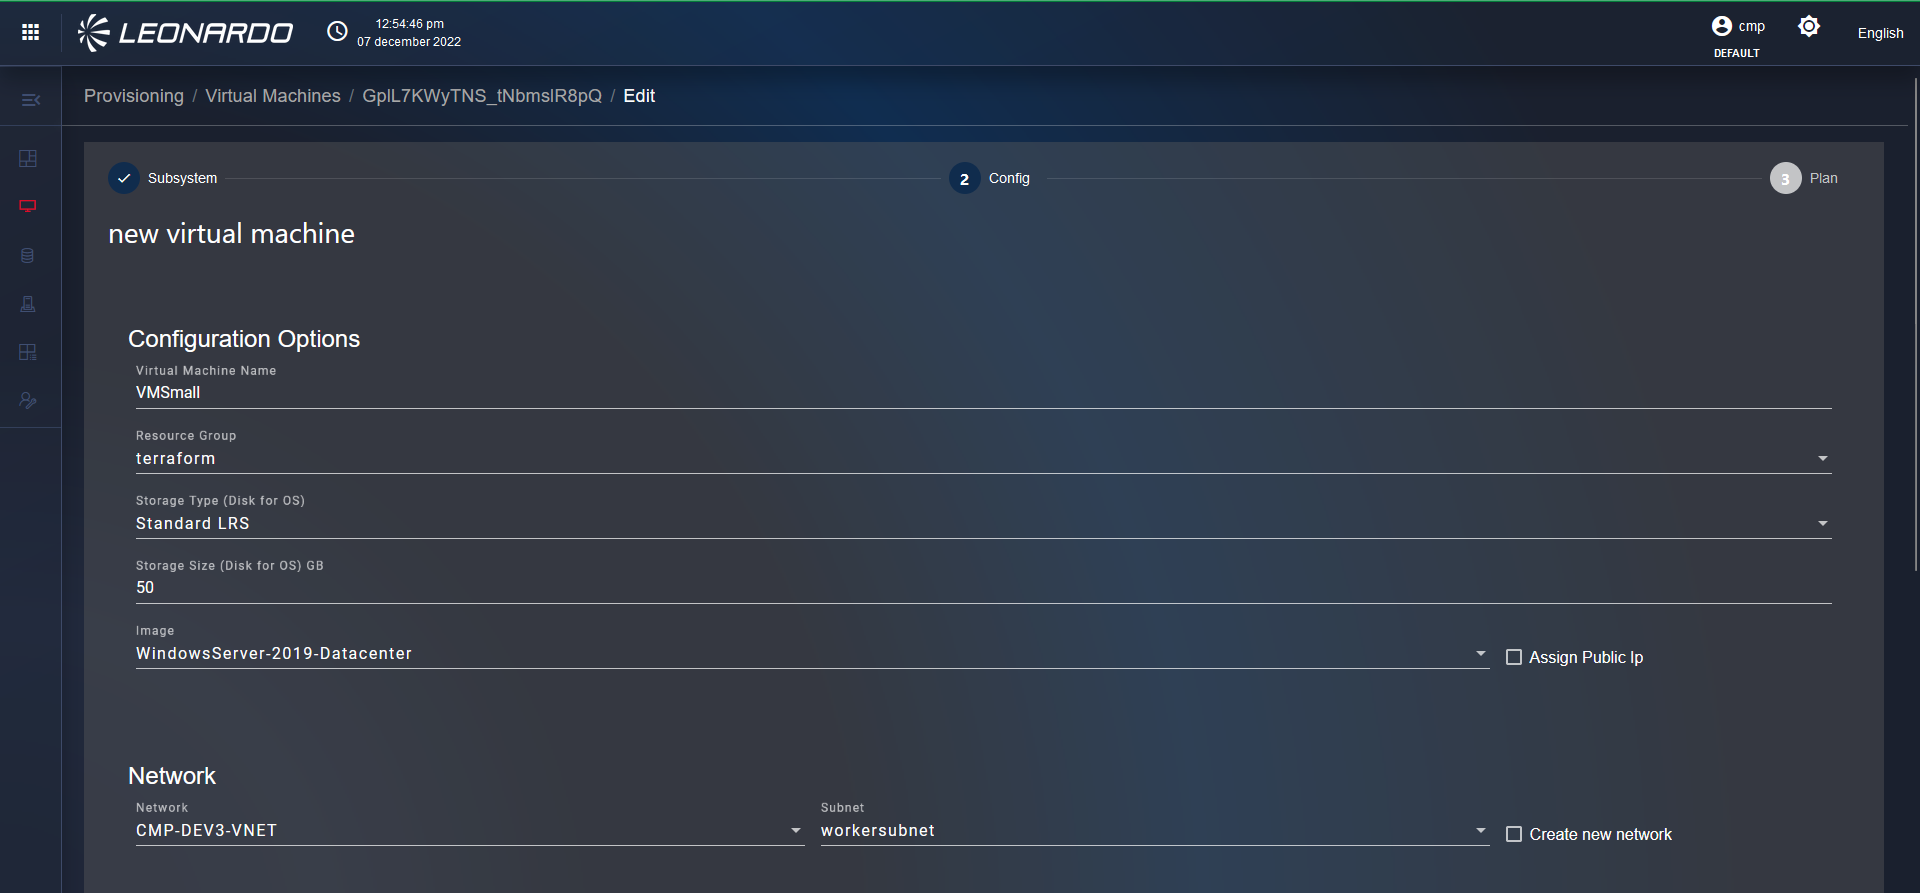
To start modifying a provisioning, click on a failed forecast.
After doing so, you will find yourself on the "Config" page of step 2 where you can modify the previously entered parameters.
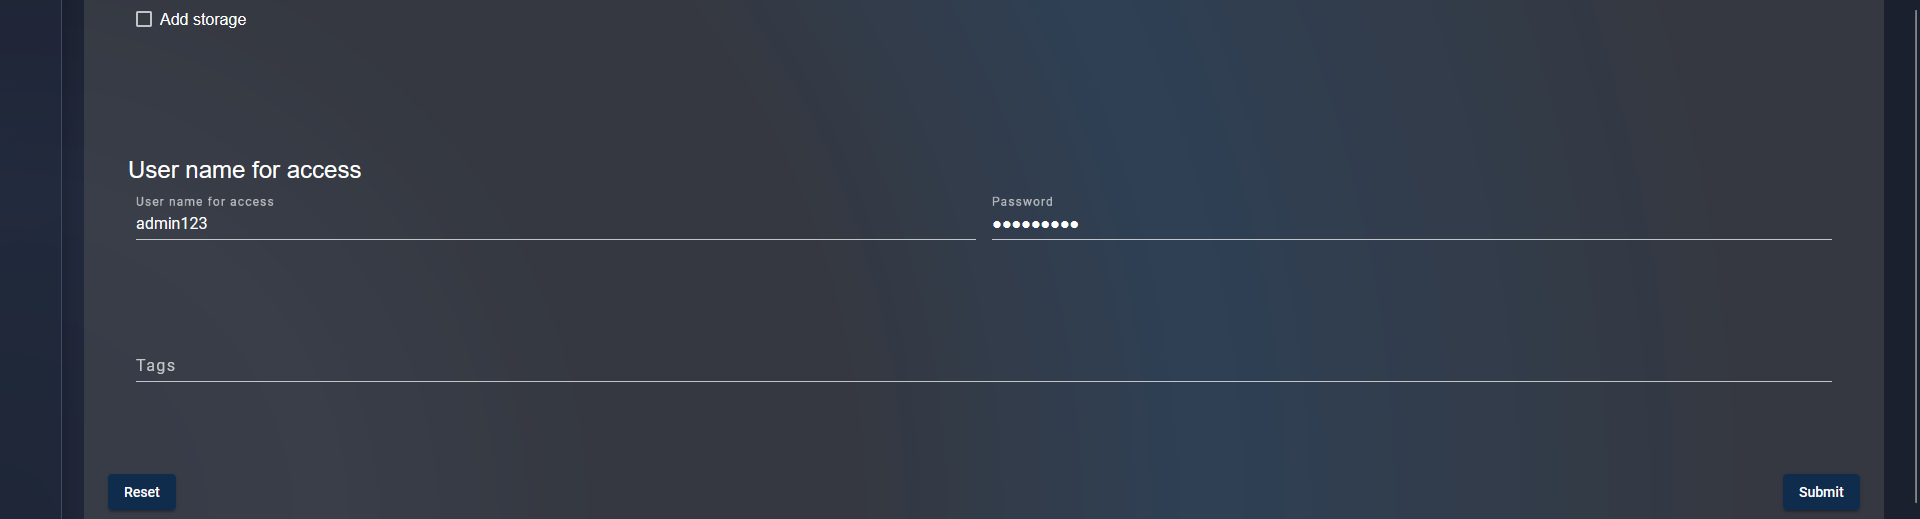
After modifying the necessary parameters, at the bottom right, click the "Submit" button.
By doing so, you will find yourself on the "Plan" page of step 3, where the forecast is present, and below, the quote table.
At the bottom right, click the "Apply" button. After clicking the "Apply" button, you will find yourself on the "Dashboard" tab page.
Subsequently, from the "Dashboard" page, the user notes that the modification was successful.
It is also possible to modify a failed provisioning for other elements managed by SCMP.